Cart
0
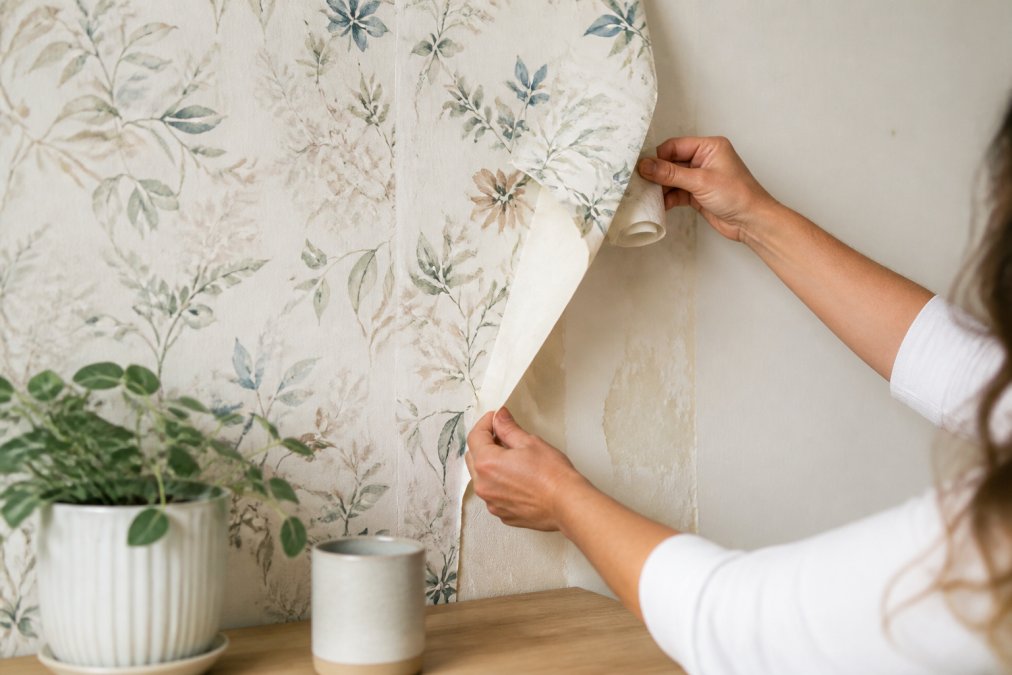
Table of Contents
- Best Tools for Removing Peel and Stick Wallpaper
- Preparing Your Wall for Safe Removal
- Step-by-Step Process: How to Remove Peel and Stick Wallpaper
- How to Remove Wallpaper Adhesive Residue
- How Long Does It Take to Remove Peel and Stick Wallpaper
- Protecting Your Walls and Drywall During Removal
- Troubleshooting Common Damage and Issues
- Cleaning and Preparing the Wall After Removal
Last Updated: August 8, 2026
Best Tools for Removing Peel and Stick Wallpaper
Removing peel and stick wallpaper safely requires the right equipment. The tools you choose determine whether the job takes an hour or turns into a frustrating afternoon of scraping and damage repair.
Essential Equipment
Your core toolkit should include a heat source, something to lift the wallpaper, and cleaning supplies. A heat gun delivers faster, more consistent results than a hair dryer, softening the adhesive bond between the wallpaper backing and your wall.
A plastic scraper is non-negotiable, metal scrapers gouge drywall. A 3-inch putty knife handles most residential applications and should be flexible enough to slide under the wallpaper without digging into the substrate.
Soapy water is your cleanup workhorse. Mix warm water with a few drops of dish soap in a spray bottle. Keep microfiber cloths on hand; they're gentler on wall surfaces than paper towels.
A scoring tool creates tiny perforations in the wallpaper, allowing moisture and heat to penetrate the backing. This is optional for thin peel and stick wallpapers that release easily, but essential for stubborn sections.
Optional Tools for Stubborn Sections
For wallpapers that cling stubbornly, isopropyl alcohol (70% solution) cuts through dried adhesive without damaging most wall finishes. Test any solvent on an inconspicuous area first, as some older wall paints can soften if exposed to strong solvents.
A goo removal product handles particularly stubborn residue more effectively than water alone. A steam wand attachment on a wallpaper steamer generates moist heat that penetrates backing more effectively than dry heat, justifying its cost if you're removing wallpaper from multiple rooms.
Preparing Your Wall for Safe Removal
Before applying heat or moisture, assess your wall's condition. Check for loose paint around the wallpaper edges, if paint is already peeling, it will separate further when you apply heat and moisture.
Identify the wall texture. Smooth drywall responds well to standard removal techniques. Textured walls (popcorn or orange peel finish) are more delicate and require slower, less aggressive scraping.
Test a small corner first. Lift a corner gently with your putty knife without forcing it. If the wallpaper peels back cleanly, you're in good shape. If it tears or resists, apply heat for 30-45 seconds and try again. This test tells you how much heat and pressure the specific wallpaper and wall combination can handle.
Step-by-Step Process: How to Remove Peel and Stick Wallpaper
Step 1: Test a Corner
Start in an inconspicuous corner, typically near a doorway or behind furniture. Use your putty knife to gently lift the wallpaper edge with gentle upward tension, not aggressive scraping.
If it tears or resists, apply heat from your heat gun for 30-45 seconds, holding it 6-8 inches from the surface. Move the heat source back and forth to avoid concentrating heat in one spot. After heating, try lifting the corner again with gentle tension.
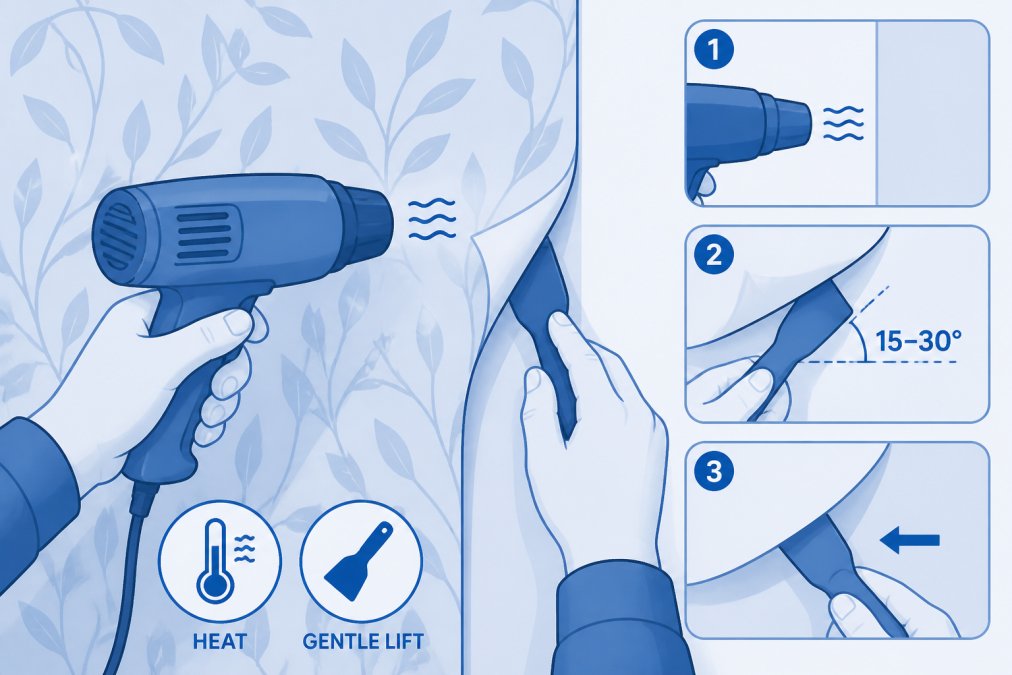
This test determines your approach for the rest of the wall.
Step 2: Apply Heat to Loosen the Adhesive
Work methodically across the wall in sections, starting at the top and working downward. Apply heat to a 12-inch square section using a heat gun set to medium temperature, moving in slow, circular motions to distribute heat evenly. After 45-60 seconds, the adhesive should soften enough to release.
The heat softens the adhesive bond without damaging the wall substrate. Patience with heat prevents damage from aggressive scraping.
Step 3: Peel Back Gently
Once the adhesive softens, use your putty knife to lift a corner or edge of the wallpaper backing. Apply steady upward pressure, not jabbing or scraping. The wallpaper should peel back in strips or large sections if the heat worked properly.
Work slowly. If the wallpaper tears or resists, apply more heat rather than forcing it. As sections release, fold them back on themselves to keep them out of your way.
Step 4: Remove Remaining Wallpaper
After the main sheets come off, you'll have small sections and edge pieces clinging to the wall. Apply heat to stubborn sections, then use your putty knife with gentle upward tension. Some wallpaper backing will remain stuck to the wall, this is normal and easy to remove once you address the adhesive underneath.
How to Remove Wallpaper Adhesive Residue
Soapy Water Method
Start with the gentlest approach: warm soapy water. Mix warm water with a few drops of dish soap in a spray bottle. Spray the adhesive residue generously with your cloth, then let it sit for 1-2 minutes. After waiting, use your cloth to gently rub the adhesive in circular motions. The residue should ball up and roll away from the wall.
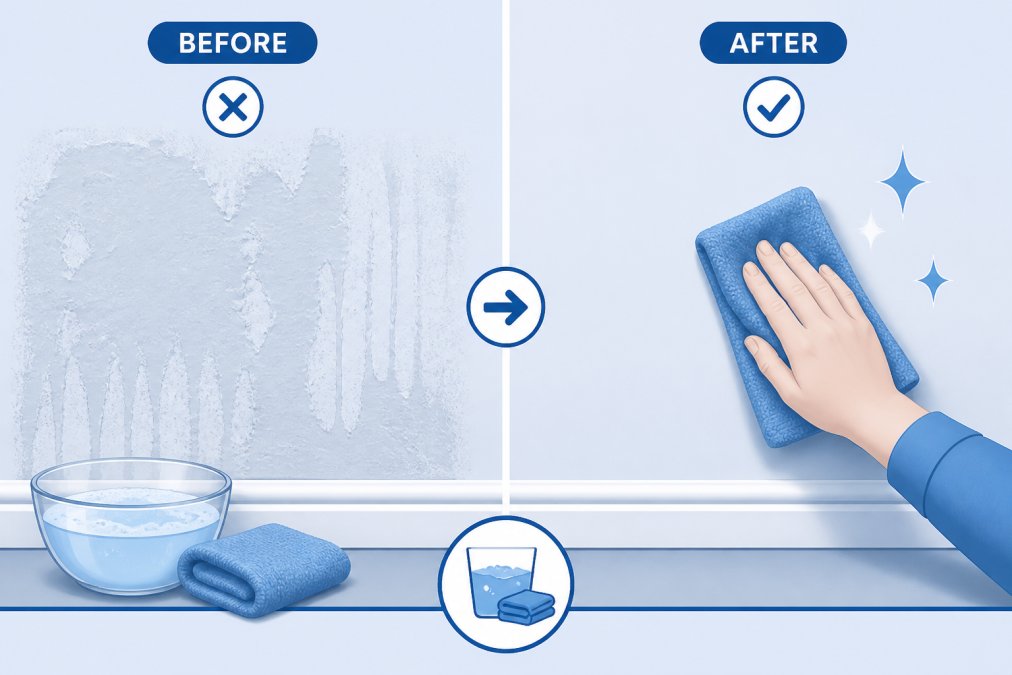
Rinse the wall with clean water and a fresh cloth to remove soap residue.
Isopropyl Alcohol and Non-Toxic Cleaners
If soapy water doesn't fully remove the adhesive, use 70% isopropyl alcohol on a cloth. Dampen the cloth and apply it to the adhesive, letting it sit for 1-2 minutes. Rub gently in circular motions. For particularly stubborn patches, apply alcohol, wait 3-5 minutes, then rub again.
Test alcohol on an inconspicuous area first if concerned about wall finish. Non-toxic cleaners marketed for adhesive removal work similarly and follow product instructions for application and contact time.
How Long Does It Take to Remove Peel and Stick Wallpaper
A single accent wall (roughly 150 square feet) typically takes 2-4 hours for someone removing wallpaper for the first time. Experienced DIYers move faster, completing the same space in 1.5 to 2.5 hours.
Stubborn wallpapers that resist peeling add time. Wall condition also affects duration, textured walls require slower, more careful work, while smooth, well-prepared drywall moves fastest.
Protecting Your Walls and Drywall During Removal
Use plastic scrapers instead of metal. Metal edges gouge drywall easily, creating divots that require patching. Apply heat before scraping, when adhesive is soft, the wallpaper releases with minimal force.
Keep your putty knife angle shallow, nearly parallel to the wall surface. Use gentle, steady pressure rather than jabbing or scraping motions. Work slowly on textured walls, as the texture is fragile and catches easily on your scraper.
Troubleshooting Common Damage and Issues
Paint Peeling or Lifting
If paint lifts or peels during removal, you've encountered paint that wasn't properly adhered to the wall underneath. Stop using heat and moisture on that section and switch to gentle scraping with your plastic putty knife at a shallow angle.
If paint continues to lift, accept that it will come away with the wallpaper. Once the wallpaper is off, sand the damaged area smooth, apply primer, and paint.
Drywall Gouges or Divots
Small gouges (less than 1/4 inch deep) need patching compound. Clean out any loose debris, then apply spackle or joint compound with your putty knife. Smooth it level with the surrounding wall, let it dry completely, then sand smooth.
Deeper gouges require multiple thin layers of patching compound rather than one thick layer. After patching, prime the repair before painting.
Cleaning and Preparing the Wall After Removal
Wipe the entire wall with a clean, damp cloth to remove dust and debris from the removal process. Inspect the wall for damage and address it before new wallpaper or paint goes on.
If you're applying new wallpaper, consider a primer-sealer to create a uniform surface. For paint, apply primer over the entire wall to ensure even color and finish.
The wall is now ready for whatever comes next. Whether you're hanging new wallpaper, painting, or refreshing the space with new décor from AllWayzHome's curated collection of home essentials, you're starting with a clean, properly prepared surface.
Removing peel and stick wallpaper safely transforms a potentially frustrating project into a manageable afternoon of work. The difference between damage and clean removal comes down to heat, patience, and the right tools. At AllWayzHome, we understand how important it is to maintain your walls while refreshing your space. Start with proper technique, take your time with adhesive residue, and your walls will be ready for whatever design direction you choose next. Explore More to discover how AllWayzHome's thoughtfully curated collections can help you transform your newly refreshed walls into a warm, inviting sanctuary.
Frequently Asked Questions
Does peel and stick wallpaper damage drywall when removed?
Peel and stick wallpaper can damage drywall if removed incorrectly, but proper technique minimizes risk. The most common damage occurs when wallpaper is pulled away too quickly or at the wrong angle, which can lift paint or gouge the drywall surface. Using heat to soften the adhesive bond and peeling back at a 180-degree angle significantly reduces damage. Most damage is repairable with patching compound and primer.
Do I need a heat gun to remove peel and stick wallpaper?
A heat gun is highly recommended but not absolutely required. Hair dryers work as an alternative, though they generate less heat and take longer. Heat softens the adhesive bond, making removal easier and safer for your walls. Without heat, you risk pulling too hard and damaging the drywall or paint finish. If you don't have a heat gun, borrowing or renting one costs less than repairing wall damage.
How long does it take to remove peel and stick wallpaper from a typical room?
Removal time depends on room size and wallpaper condition. A small bedroom (100-150 square feet) typically takes 2-4 hours, while a larger space or stubborn adhesive may require 6-8 hours. Removing adhesive residue and cleaning adds another 1-2 hours. Plan for a full day project if you're also patching and priming walls afterward. Rushing increases the risk of drywall damage.
What's the best way to remove sticky adhesive residue from walls?
Start with soapy water and a microfiber cloth, which works for light residue. For stubborn adhesive, use isopropyl alcohol or a non-toxic cleaner designed for adhesive removal. Apply the solution, wait 5-10 minutes for it to penetrate, then gently rub with a cloth. Avoid harsh solvents that can damage paint finish. Always test on a hidden area first, and use gentle tension rather than aggressive scrubbing to protect wall integrity.
This article was written using GrandRanker